Fall Home Decor

Sunday, October 28, 2018

Hey there! I'm on The Cut Shoppe  blog  and I'm so excited to show you my project today! I made a DIY fall decor piece that I've been wanting to do for a while.


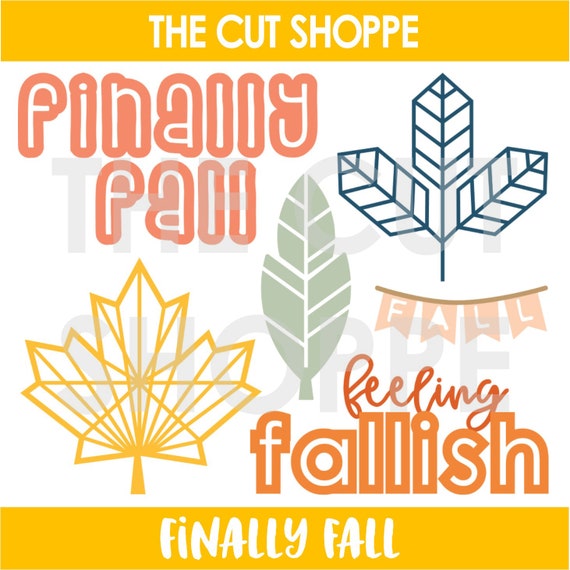
I used three different cut files. Fall Wreath and Finally Fall were cut with vinyl for the front of the glass block.  The wreath was easy. I made it small enough to fit on the block, then cut the vinyl.


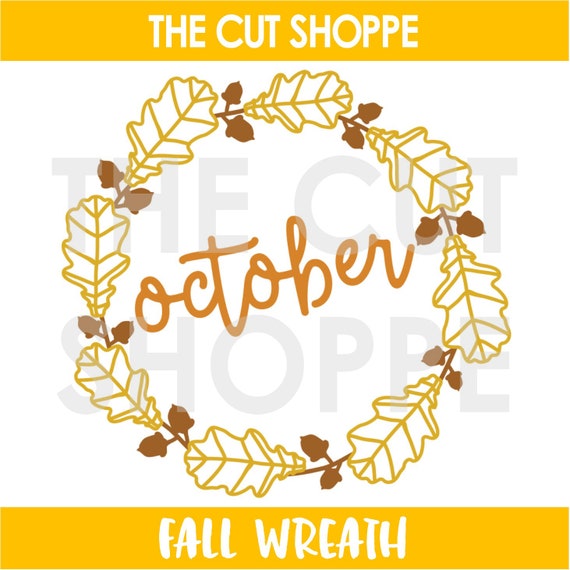
Getting 'fall' cut was a bit tricky. I used the knife tool in the silhouette software to slice the 'feeling' off of 'feeling fallish'. Once that was done, I was able to cut just 'fall' to add to the center of the wreath.


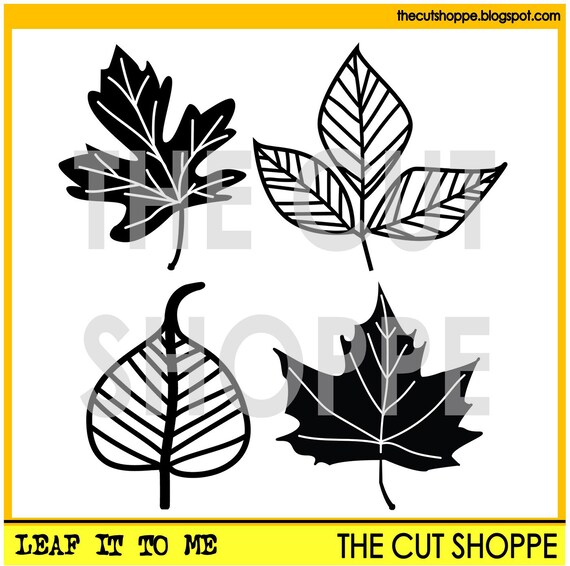
Now on to the paper part! I cut several leaves from Leaf It to Me, backing them with patterned paper from the Simple Stories Forever Fall collection to add color, pattern and yes, strength! I layered them on each side, on the top of the block. It looks so pretty siting on my table!


Surprise! I put twinkle lights inside the block! This is what it looks like all lit up. I love the lights through the cut files!

Thanks for taking a look at my creative view today! Im looking forward to sharing more with you so come back again soon. 


Little Things

Friday, October 26, 2018

Hey there and good morning! I'm on the Paper Issues blog again today sharing this project featuring our FREE cut files. 

You know, there are so many great cut files in the shop! Sometimes I'm overwhelmed and have no idea where to start. Other times, like today, I have an idea in my head and can't wait to get started. 

Oh, so that idea? Well, leaves. Layered leaves. I mean it's fall after all right? So I cut a bunch of leaves from the November Tags, October Daily Tags, Collecting Leaves and Fall is My Favorite cut files using  Pink Paislee Auburn Lane. Yeah, now the fun part. What to do with them! After moving them around the Newsprint page for a while, they landed in the corners. I like them there. They frame the photo nicely. But then I had space to fill. I don't like a lot of wasted space. So I filled it with a wood frame and some ephemera. Voila! This is a simple page really but these cut files make it special.


Thanks so much for stopping by my creative view today. Ive got a few things up my sleeve before the end of the month so come back again soon. you can get  Auburn Lane and many other things in the Paper Issues shop. Use DEVRA at checkout for 20% off your purchase. 


Who We Are Now

Tuesday, October 23, 2018

Hello there! I'm back already! I have a layout to share today for today's Get It Scrapped blog article, inspired by OOTD and also  A Flair for Buttons.

OOTD is a current trend. There are Facebook groups, bloggers all kinds of places to see who's wearing what. But have you created a scrapbook page inspired by an outfit? That's what we did today.

The inspiration outfit is one of my very favorites from my own wardrobe. It's easy, comfortable and I always feel good when I wear it. The top is loose and flowy but still shapely. The watercolor of the stripes give it a softer organic effect Jeans are a staple for me. They coordinate with everything, like a neutral. The shoes are also neutral, in color but not style. I love the roping around the wedge, and that they go with everything.

I chose to take most of my inspiration from the neutral and organic aspects of my OOTD. The colors, woodgrain patterned paper and stitching on it represent the texture of my shoes, the organic nature of leather and rope as well. The Vicki Boutin embellishments have a watercolor effect to them which also comes from the stripes in my shirt. The butterflies are not only part of my story, but the design of the leather on my shoe has always made me think of butterflies. The marble flair  and lovely words 7 flair I added are really there to add some dimension and tie all the colors together.

This was a thoughtfully cretive way to draw inspiration from OOTD and I would definitely use this approach again.


Our son recently started college, My husband and I are transitioning to our new parental roles.

Thanks so much for stopping by my creative view today. I promise I'll be back again soon with more to share.

Supplies: Patterned Paper-Webster's Pages, Vicki Boutin, Diecuts, Chipboard stickers, -Vicki Boutin, Flair-A Flair for Buttons, Alpha-American Crafts, mist-Nuvo, Dylusions, pen & adhesive-EK Success, thread-DMC

Celebrate 18

Saturday, October 20, 2018

Hey there! It's been a bit of an unexpected crazy month so not a very crafty one! Boo. Anyway, I'm on the Paper Issues Blog today sharing this page I made for the Let's Party challenge. Did someone say party? Yes please. We had a big birthday to celebrate this year. I think this photo fits this challenge don't you?

I'm all about quick, easy and what makes you happy these days. You know what? That's why I'm so happy Paper Issues is offering monthly kits now!  I still love everything about the Blue Ain't Your Color kit. Yes, I know it's from August but who cares?!?! It's fantastic. I think this is the 4th project I've made with it and I still can make a few more.  Seriously, everything on this page is from this kit and the Sept  Swag Bag.

Well, back to my layout. This isn't any old birthday page. 18 is a BIG deal and I wanted it to be BIG on my page.  One of my favorite things to do with scrappy products is to use them in different ways. That's what I did with the Stitching 2018  cut file. I deleted part of it, using only the 18. It gave me the exact look I was going for. I also used the 4th of July cut file for the word celebrate.


This gave me a chance to cross this photo off my list. Celebrating birthdays is always a big deal in my family. 18 is a really big deal. I cant believe how quickly this happened. I feel like he was little just a few weeks ago. 

So when I said easy, I meant easy. I highly recommend trying either or both the monthly kits and Swag Bags.  They will simplify your paper crafting and make it so much fun!  Use DEVRA at checkout for 20% off your purchase. Thanks so much for stopping by my creative view today. Come back again soon, I will have more to share. 

Shine

Wednesday, October 10, 2018

Hey there and good morning! Ask me how excited I am to be sharing my first project and blog post for The Cut Shoppe! Wheeee! These cut files are so much fun and I couldn't wait to get started. I've been eyeing the Piece of the Pie cut file for a while now, so I decided this was the perfect time to use it.  Just look at all those spaces just asking for beautiful paper to be placed in them! So that's exactly what I did!

 Piece of the Pie

I've had the entire Amy Tangerine Shine On collection staring me in the face. What you see here are 10 different papers in each of the triangles. Yep. That's right, 10! And look how beautiful they look set in that black paper I used for the cut file? This was super easy to put together. If you haven't tried backing a cut file with patterned paper, this is a great one to use as a first try!


Here are a few close ups that include how I used embellishments. When I back a cut file with paper, I find I don't need much else. I used some die cuts, stickers and A Flair for Buttons flair for some dimension!  


That's all I have for you today! Thanks for stopping by my creative view! I cant wait to share more The Cut Shoppe  projects with you.

Supplies: Patterned Paper, stickers, die cuts-Amy Tangerine, Piece of the Pie cut file, Cardstock-Bazzill, A Flair for Buttons


FREE BLOGGER TEMPLATE BY DESIGNER BLOGS